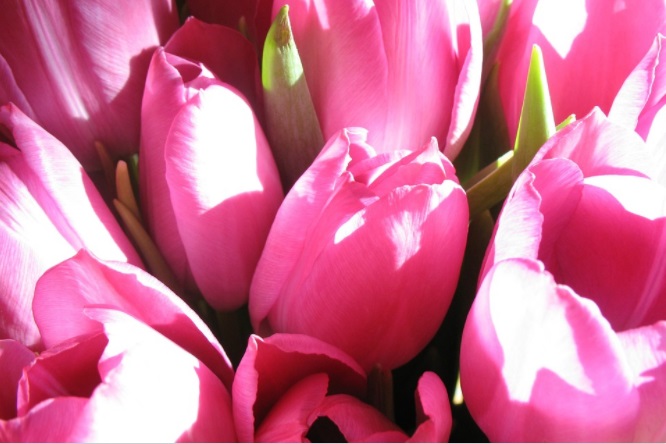
How are you preparing your annuals and perennials for spring bloom? While the cold weather may be right around the corner, there’s no time like the present to get your garden ready to burst into life next spring. The key, of course, is knowing how to choose the right plants, prepare the soil with the right amount of moisture and nutrients, and weed out any lingering pests that could threaten your precious plants as they grow in preparation for their upcoming blooms.
The Difference Between Annuals and Perennials
One of the first things you need to do when getting your garden ready for spring is to know the difference between annuals and perennials. Annuals are plants that live for one growing season and then die, while perennials are plants that come back year after year. This distinction is important because it will dictate how you care for your plants, no matter the season.
Step 1 – Place Plants Inside During the Cold

It is important to know the difference between annuals and perennials for better results.
If you want your annuals and perennials to bloom during the spring, you need to start preparing them now. One of the first things you need to do is place your plants inside during any cold spells. This will help protect them from the frost and ensure they’re healthy when it’s time to transfer them outside.
Step 2 – Prepare Bed With Soil and Fertilizer
One of the most important steps in getting your annuals and perennials ready for spring bloom is preparing the bed with soil and fertilizer. This will ensure that your plants have the nutrients they need to grow and thrive.
Step 3 – Water Plants Each Day
Water is essential for all plants, but especially for annuals and perennials that are preparing to bloom. Make sure to water your plants each day, either first thing in the morning or in the evening. Check the soil before watering to see if it is dry; if it is, give the plant a good soaking. If the soil is still moist, then just give the plant a light watering.
Step 4 – Transfer Plants From Pots to Garden Bed
Now that your garden bed is all prepped and ready, it’s time to transfer your plants from their pots into the ground. If you’re working with annuals or perennials that were started from seed, be careful not to damage the delicate root systems as you transplant them. Gently loosen the soil around the edges of the pot, then slide the plant out. If the roots are bound up in a thick mass, tease them apart a bit before planting.
Step 5 – Add Mulch Around Garden Plants
Mulch is a layer of material that you spread over the surface of the soil around your plants. It helps conserve moisture, improve the appearance of your garden, and can even help suppress weeds. There are many different types of mulch available, so you can choose one that best suits your needs. Be sure to add a layer that’s at least 2-3 inches thick, and make sure to keep it away from the base of your plants so that it doesn’t rot their stems.
Step 6 – Enjoy Your New Flowers Next Summer!
After all your hard work, it will be time to sit back and enjoy the fruits of your labor next summer. Keep an eye out for any pests or diseases that might pop up and ruin your beautiful blooms. With a little bit of love and attention, your garden will be thriving in no time.
Contact us at All Around Soil & Stone today for any products you need to get ready for next spring and summer!
